Building an Automatic Fever Detector
John Paul Lineberger, August 12, 2020
Clemson COVID challenge
The Clemson COVID challenge was a summer virtual research and design opportunity for teams of faculty and undergraduates to work on problems related to the COVID-19 Pandemic as well as creating solutions for future pandemics. With partner university University of South Carolina and Prisma health, Teams had a little more than half a month to tackle a problem in the areas of communication, Education, Healthcare Technology, Policy/Economy/Logistics, or Society/Community.

Focusing on the area of Healthcare Technology, my mentors Dr. Hudson Smith, Dr. Carl Ehrett, and I decided to work on building a privacy-centric, affordable, open-source fever detection solution. With a team of students and me at the helm, four weeks of hard work converged to a solution conveniently named the TigIR which ticked many of the boxes we wanted while coming in at sub $500.
Why fever detection?
In the wake of the COVID-19 outbreak it has become increasingly difficult to safely and responsibly navigate the normal tasks of our daily lives, especially while keeping the efficiency of life that we have come to expect. With a new normal of taking temperatures upon entering places of business, many solutions have incorporated the use of IR cameras and facial detection to aid in this process. However, these solutions can be expensive and what they do with this data behind closed doors could surrender your privacy. We wanted to create a solution that would allow us to regain the our efficiency of lives, while remaining safe and responsible to not only the pandemic we face but also our privacy. Given how powerful of a tool AI and thermal imaging are, it’s obvious on why people would want to use them but there’s a morally correct way of going about doing so.
Background on using thermal cameras for fever detection
For over 30 years, IR thermal cameras have been used to diagnose issues in many industries everything from healthcare applications to home cooling. This is because heat generated from sources emit a band of light that the human eye or any standard camera can perceive. However, when targeting said band, we can get the temperature of a point in space by the amount of light it emits. This is then mapped to a color map and creates images for diagnosing problems
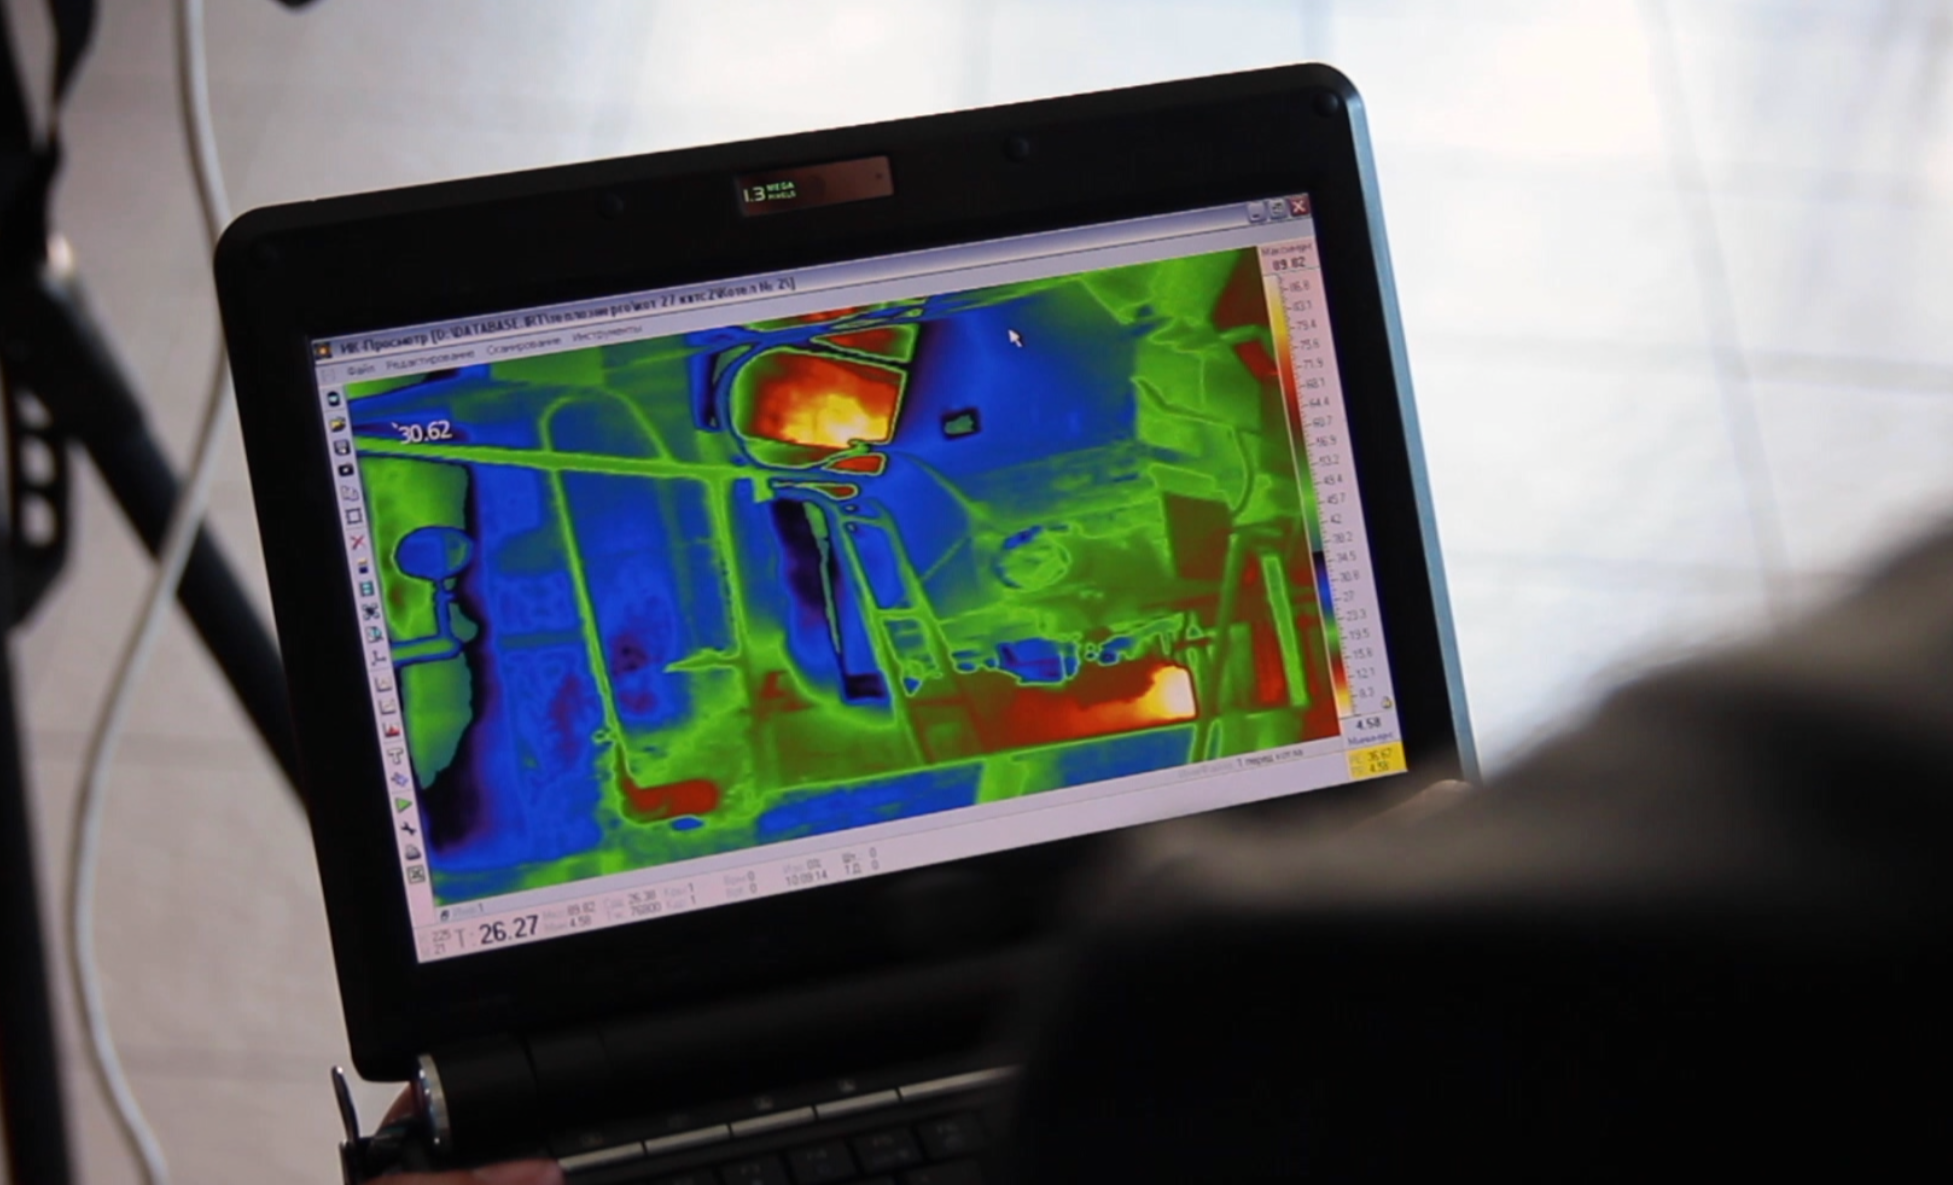
In the case of faces, we can use thermal imaging to get the temperature of a subject’s face which will emit more IR energy if they have a fever aka an elevated body temperature
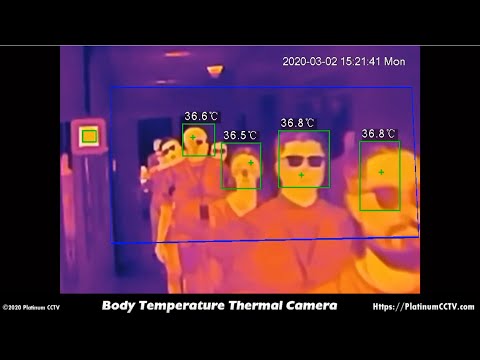
Normally we could use this data with a calibrated sensor to get the temperature at certain spots, however these locations on the human face have to be exact and therefore sometimes hard to capture. Our solution is to use two sensors: a IR thermal camera and a visual spectrum camera. The visual spectrum camera is uses facial detection to get landmarks on the faces of people walking by and then map that to a thermal sensor to get a values. The thermal data at these points are then passed to a machine learning model which will output whether or not the subject has a fever.
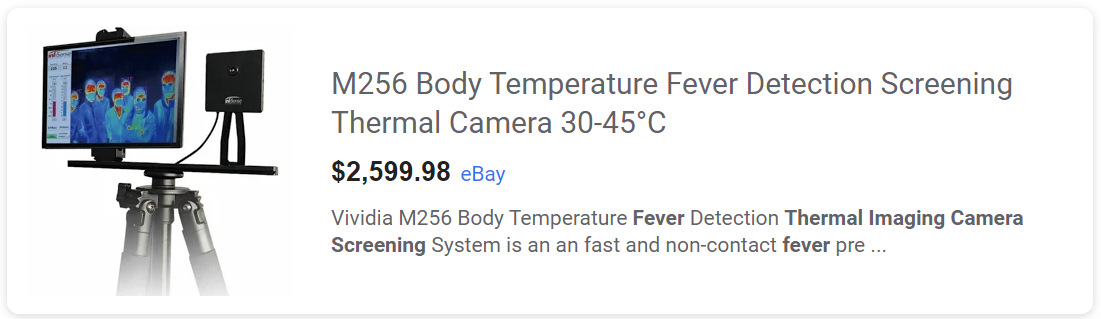
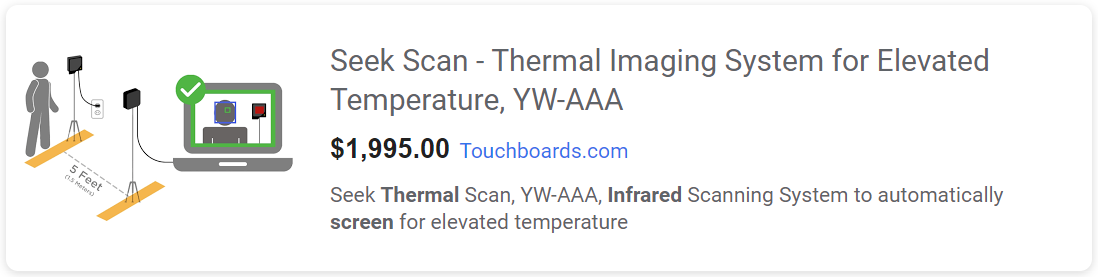
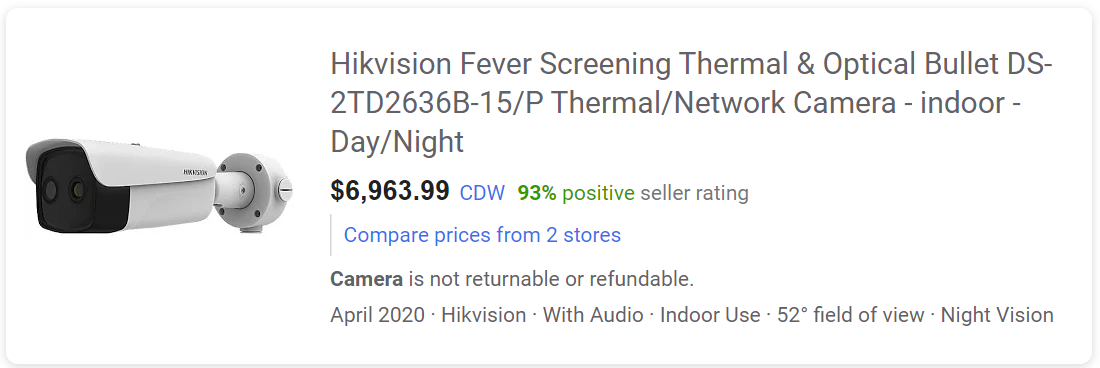
Current solutions on the market
Several solutions to this problem already exists on the market, however they have a few short comings such as price, not being reviewed/validated/, and accessibility. We wanted to create a solution that any one can have access to, affordable, and reviewed.
Component Selection
Like I said before, we wanted the TigIR to be an affordable solution and using off the shelf parts. Luckily there were a few options for each which gave us some flexibility
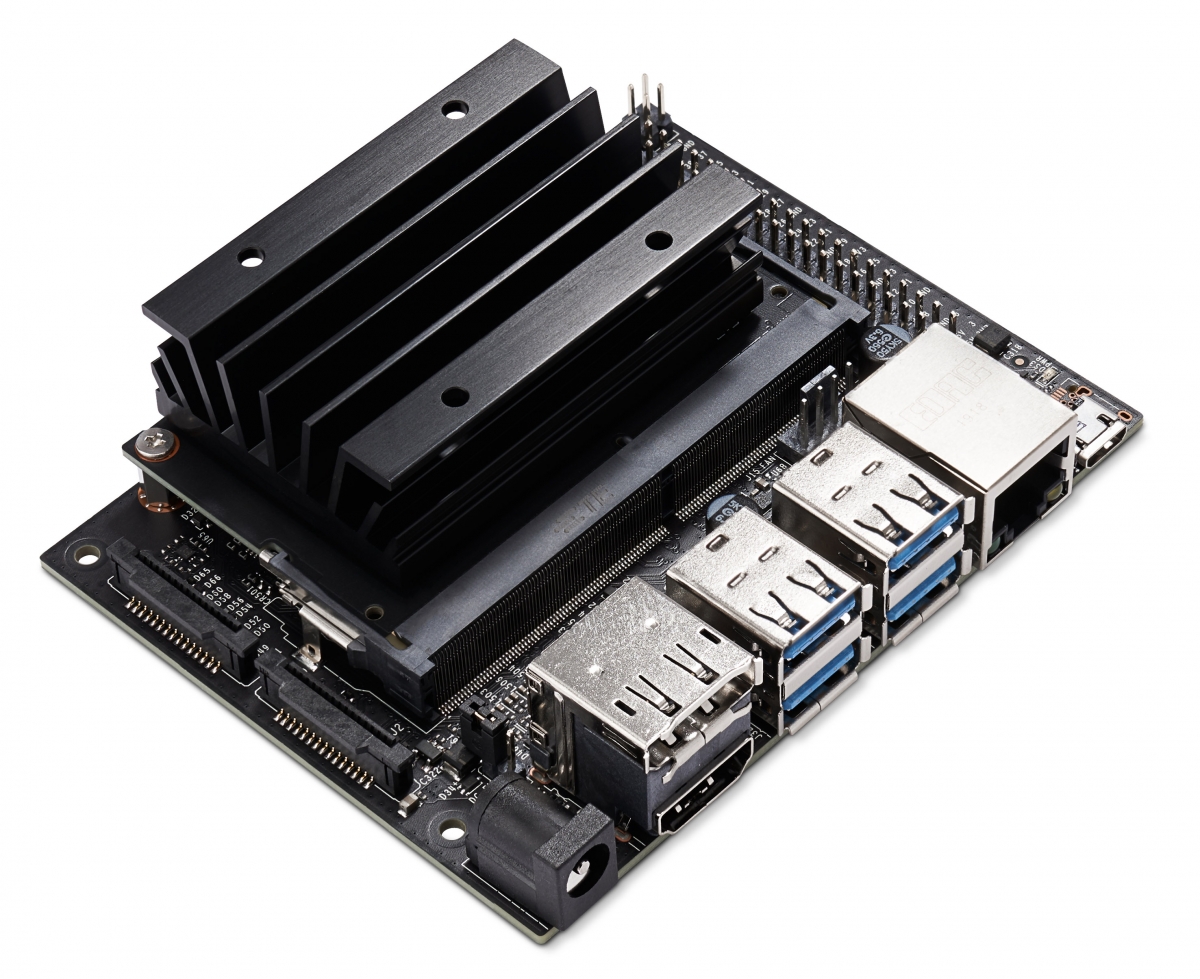
The Brain
Being able to run who machine learning models and process incoming images can be a resource intensive task. Many small compute units exits on the market exist however, for an effective solution we considered two options: Nvidia Jetson Nano + has Cuda cores for dedicated machine learning techniques + built in, very effective heat sink + has pcie slot for storage or wifi + Overclockable with a very capable arm processor + Expensive
Raspberry Pi 4 4GB model + Affordable + Build in Wifi and bluetooth + Wider community support + Neo-arm processor which is faster however dedicated GPU not as strong + micro-hdmi
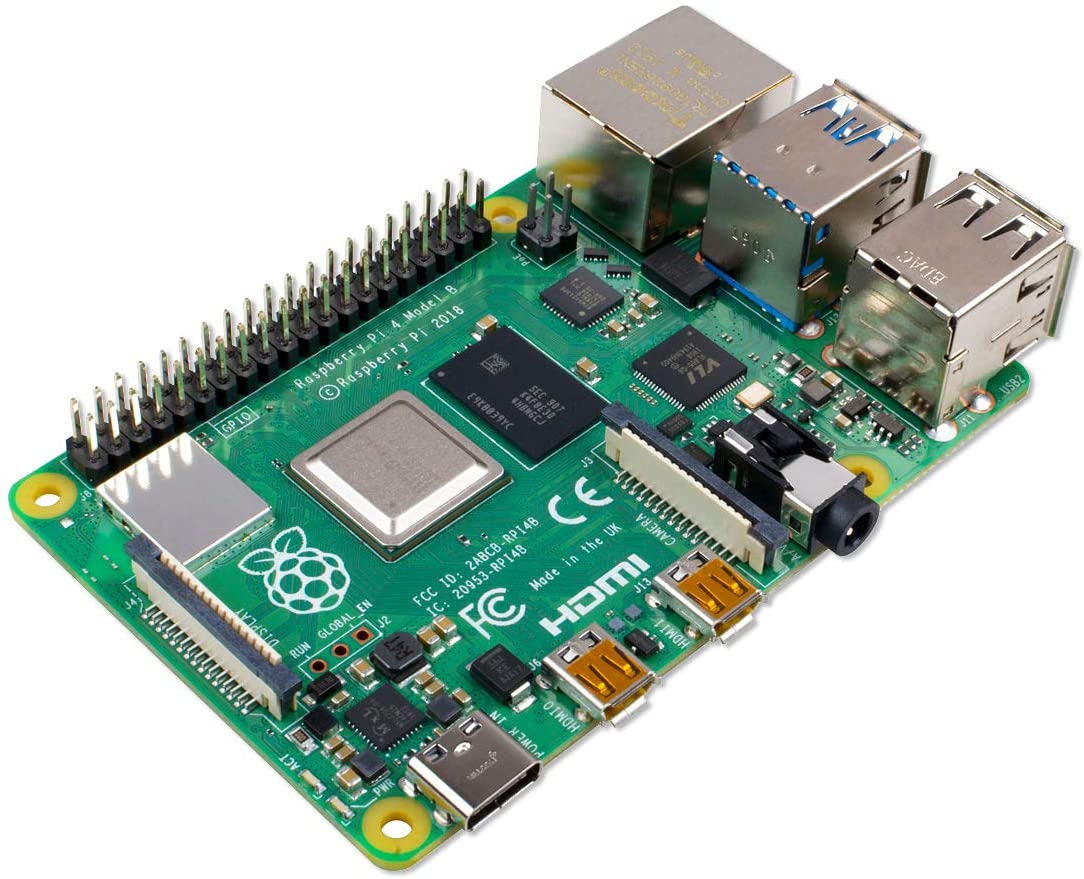
We ended up choosing the Raspberry Pi 4 for this project because of its affordability and neo-arm architecture.
The Sensors
For our solution to work correctly, it requires two sensors one that sees the visible spectrum and the other that sees IR. Instead of listing all the possible options, let me give you the reasons for the products we selected:
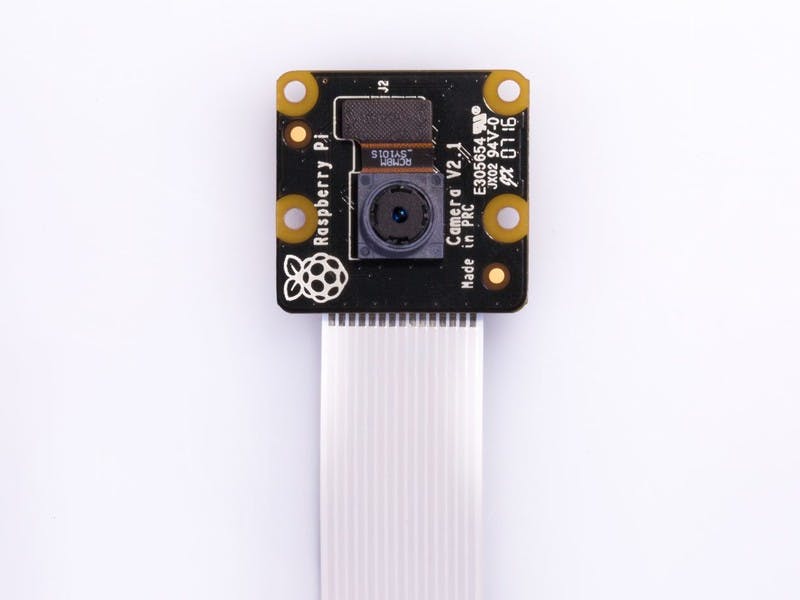
- LABISTS Raspberry Pi noIR Camera V2
- Sony mirrorless 8MP sensor capable of 1080p at 30fps
- IR filter removed for better low light performance
- Super easy to install with ribbon cable
- Low cost of $27.99 USD
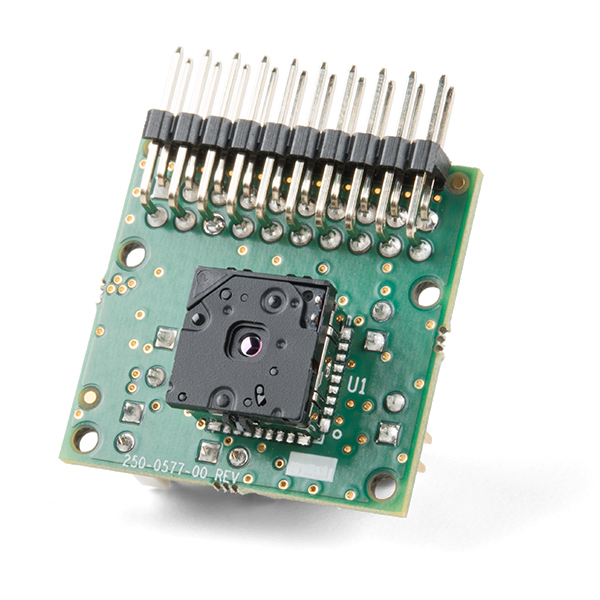
- FLIR Radiometric Lepton V2.5
- 80x60 IR solution for $250 USD
- FLIR is known for their quality products, reliability, and documentation
Enclosure
The enclosure we selected for this project was selected based on its features and price. The Miuzei Case includes a fan and 4 aluminum heat sinks for cooling. This case also includes a 15W power supply which covered that component. The IO on this enclosure is really easy to access.
Misc
Some components that we had to purchase that are generic:
- MicroSD Card
- Usually you want to choose at least a UHS Speed Class 3
- Need at least A2 read speed
- Rated at 90MB/s
- Breadboard Cables
- Anything will work
Prototype development
In order to have a test bed for developing code, I built a testbed to hold the sensors while we were finishing designing and prototyping the 3D printable enclosure.

Setting up the Pi
Preparing the SD Card
Setting up a Raspberry Pi is quite simple these days. Using a computer with a microSD card slot or an external SD card reader, plug your microSD card into your computer and then allow the system to have writing permissions to said storage device (should be enabled by default). Next head over to Raspberry OS Imager Guide where you can download the Pi Imager and install your preferred version of Raspbian.
After the image is installed, create a txt file in the main directory of the microSD card named SSH to enable ssh forwarding. This allows you to connect to the Pi from a PC over a local network instead of having to find a mini-hdmi cable. Using Windows Remote Desktop Protocol you can even view the desktop in real time. This is where I did most of the development for this project.
In hopes that the Raspberry Pi community would have it’s own OS image with the tools necessary to perform machine learning tasks on the Pi, my search came up with nothing but images locked behind pay walls that costs hundreds of dollars. In search for a cheap alternative solution, we have created an Image that contains OpenCV, Numpy, Pandas, Pytorch, and dlib compiled from source to run on the neo-arm architecture sufficiently so that you don’t have to spend hours on lengthy tutorials. You can download that Here
SSH into Pi
To get the ip of the raspberry pi on your network simply type in a windows or Linux terminal
ping raspberrypi

Installing the packages
There are quite a number of packages that are necessary for this project along with their requirements:
- Python 3.7
- OpenCV with dlib
- Numpy
- Pandas
- Pylepton
- Pytorch
- Picamera
Many of these were compiled from source using cmake instead of pip installing so that they could take advantage of the neo-arm architecture. Tutorials for these libraries are available.
Enabling IO
Using the Raspberry Pi configuration tool, make sure to enable the use of the GPIO pins and CSI ribbon slot.
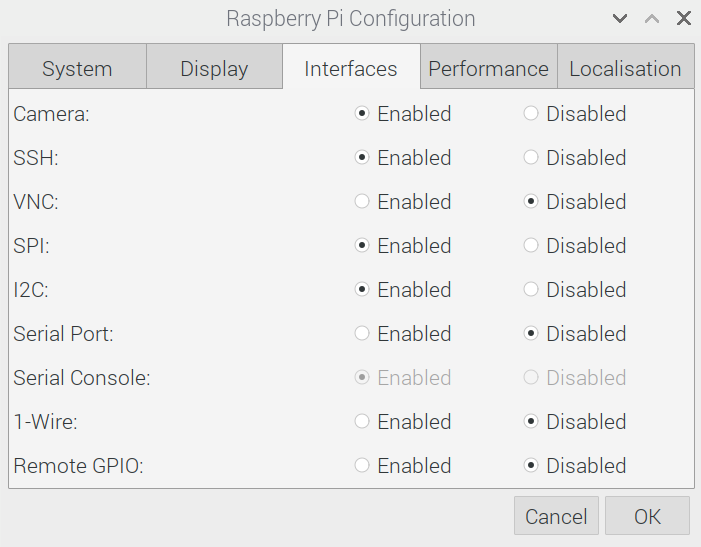
Once enabled, shut down the Pi and plug in the normal camera to the ribbon slot and plug each GPIO pin to its respective position as shown below.
To test to see if the normal camera is working type the following into a terminal which will generate at test image:
raspistill -o testshot.jpg
If the image is not generated check your connections and Pi configuration again.
The Code
In order to access many of the features shown below, clone the Fever-Detector-COVID-Challenge repo
Testing Camera and Libraries
Normal Camera
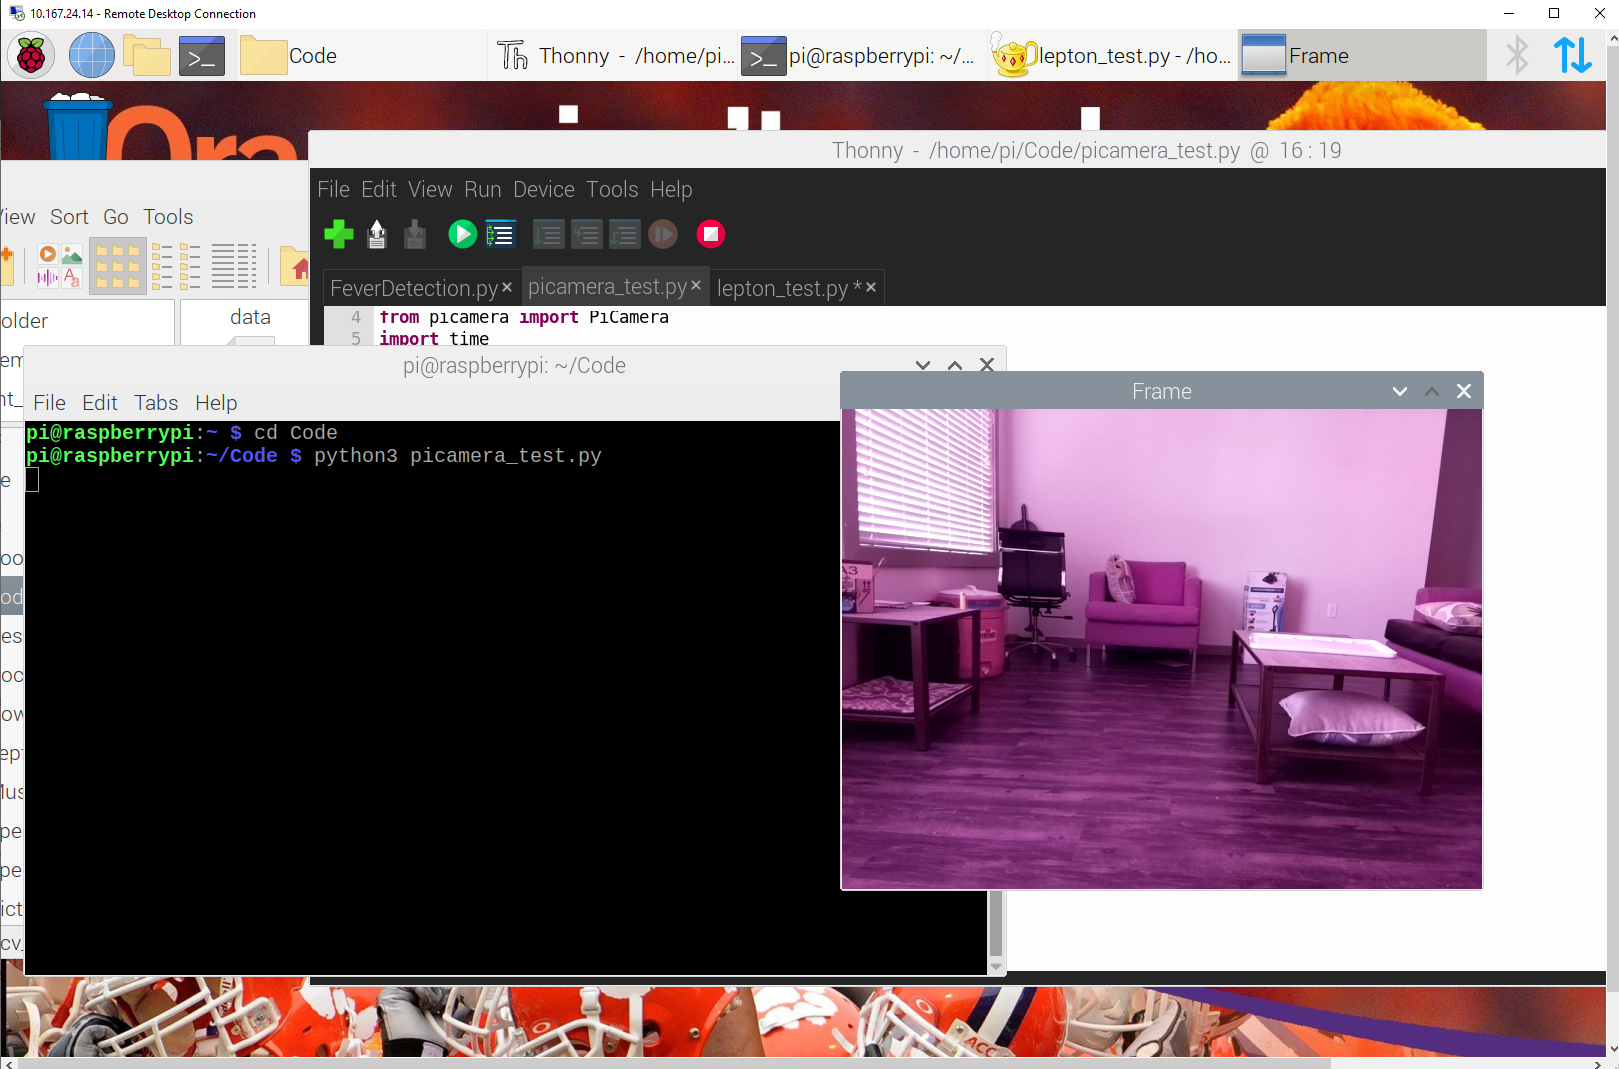
To assure everything is working properly, we will create a simple script called picamera_test.py. first import your necessary libraries and initialize the camera and build a buffer. Here you can specify the output size, frame rate, and orientation of the image. Only use size and framerate combinations that are supported by your selected camera
## import packages
import cv2
from picamera.array import PiRGBArray
from picamera import PiCamera
import time
import numpy as np

## Test Video ##
# initialize the camera and grab a reference to the raw camera capture
camera = PiCamera()
camera.resolution = (640, 480)
camera.framerate = 32
camera.rotation = 180
rawCapture = PiRGBArray(camera, size=(640, 480))
Then we will allow the camera to sleep for warm up
time.sleep(0.1)
Next we will create a for loop that will update a cv2 window with grabbed frames from the camera. If you want to the test to stop at any time, press ‘q’
for frame in camera.capture_continuous(rawCapture, format="bgr", use_video_port=True):
    # grab the raw NumPy array representing the image, then initialize the timestamp
    # and occupied/unoccupied text
    image = frame.array
    # show the frame
    cv2.imshow("Frame", image)
    key = cv2.waitKey(1) & 0xFF
    # clear the stream in preparation for the next frame
    rawCapture.truncate(0)
    # if the `q` key was pressed, break from the loop
    if key == ord("q"):
        break
Then navigate in your terminal where you created your script and run it. This should be similar to your result
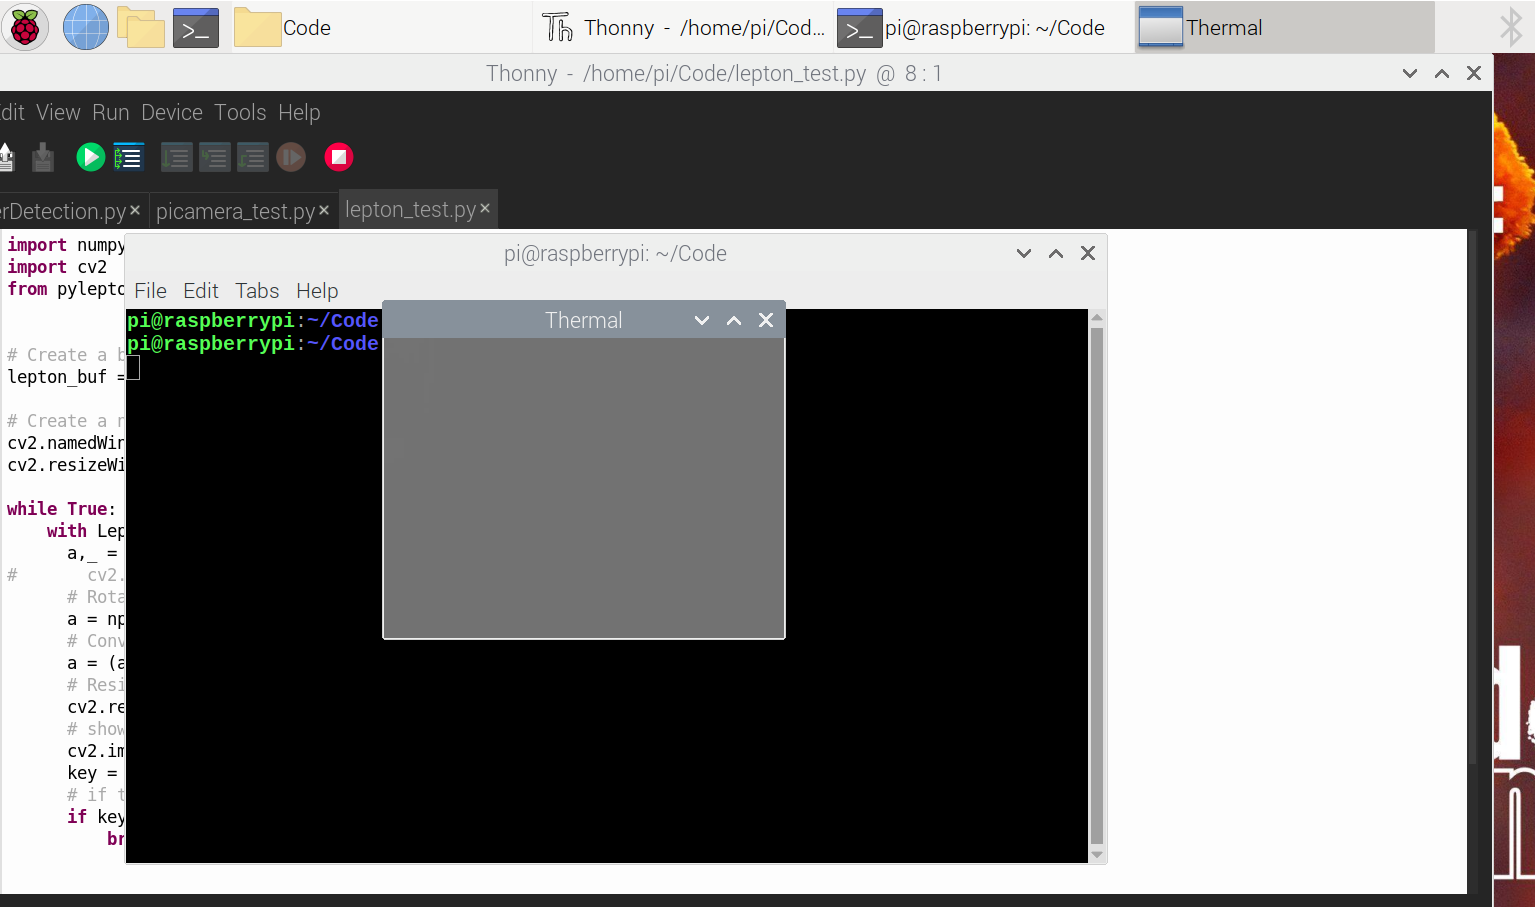
Lepton Camera
To assure you connected your GPIO pins correctly and the Pylepton library is work we are going to create a script named lepton_test.py
First import the necessary packages, create a buffer to store the frames into, and then create a cv2 named window which we will display the frames on
## Import packages
import numpy as np
import cv2
from pylepton import Lepton

# Create a buffer to save the images into
lepton_buf = np.zeros((60,80,1), dtype=np.uint16)

# Create a named window for the image to be placed into
cv2.namedWindow("Thermal", cv2.WINDOW_NORMAL) # creates window
cv2.resizeWindow('Thermal', 400,300) # resizes window to usable resolution
Then we want to create a while loop to constantly display the frames in the buffer
while True:
    with Lepton() as l:
      a,_ = l.capture()
      # Rotate image
      a = np.rot90(a, 2)
      # Convert to uint 8
      a = (a/256).astype('uint8')
      # Resize image
      cv2.resize(a, (640,480))
      # show image
      cv2.imshow('Thermal',a)
      key = cv2.waitKey(1) & 0xFF
      # if the `q` key was pressed, break from the loop
      if key == ord("q"):
          break
Notice how when you run the script you get a grey image. This is because of the value ranges of the pixels
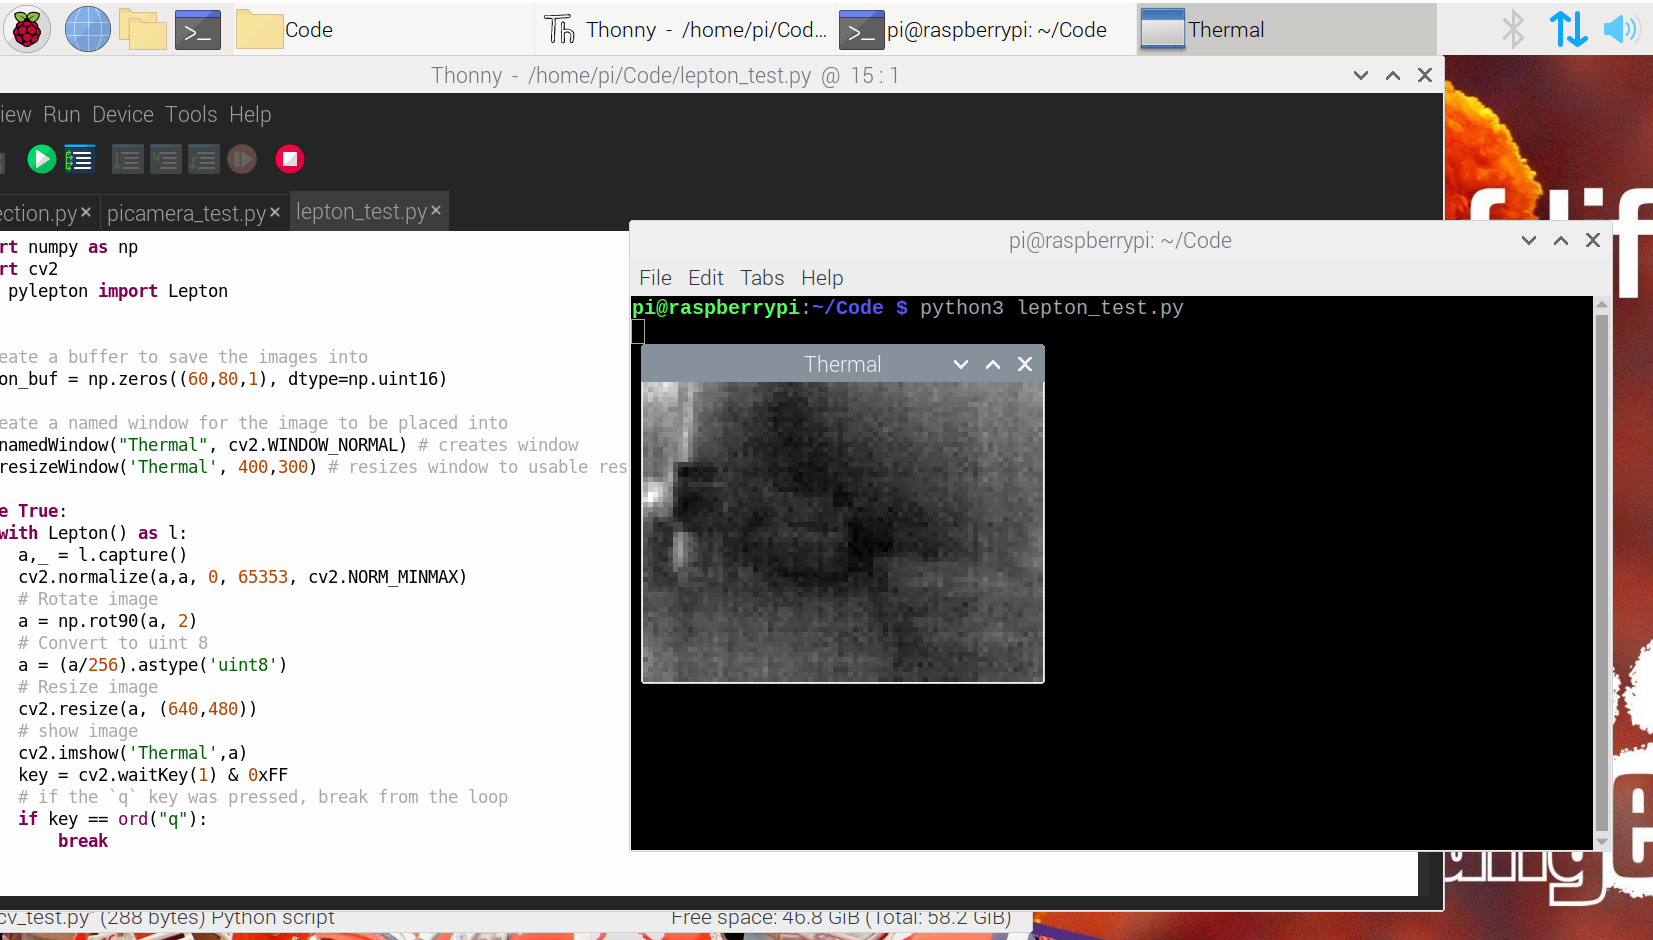
In order to introduce more contrast to the image, we need to normalize the pixel values by range of values and the images min and max values. So we update the script to the following
while True:
    with Lepton() as l:
      a,_ = l.capture()
      # normalize image
      cv2.normalize(a,a, 0, 65353, cv2.NORM_MINMAX)
      # Rotate image
      a = np.rot90(a, 2)
      # Convert to uint 8
      a = (a/256).astype('uint8')
      # Resize image
      cv2.resize(a, (640,480))
      # show image
      cv2.imshow('Thermal',a)
      key = cv2.waitKey(1) & 0xFF
      # if the `q` key was pressed, break from the loop
      if key == ord("q"):
          break
Which gives us the following
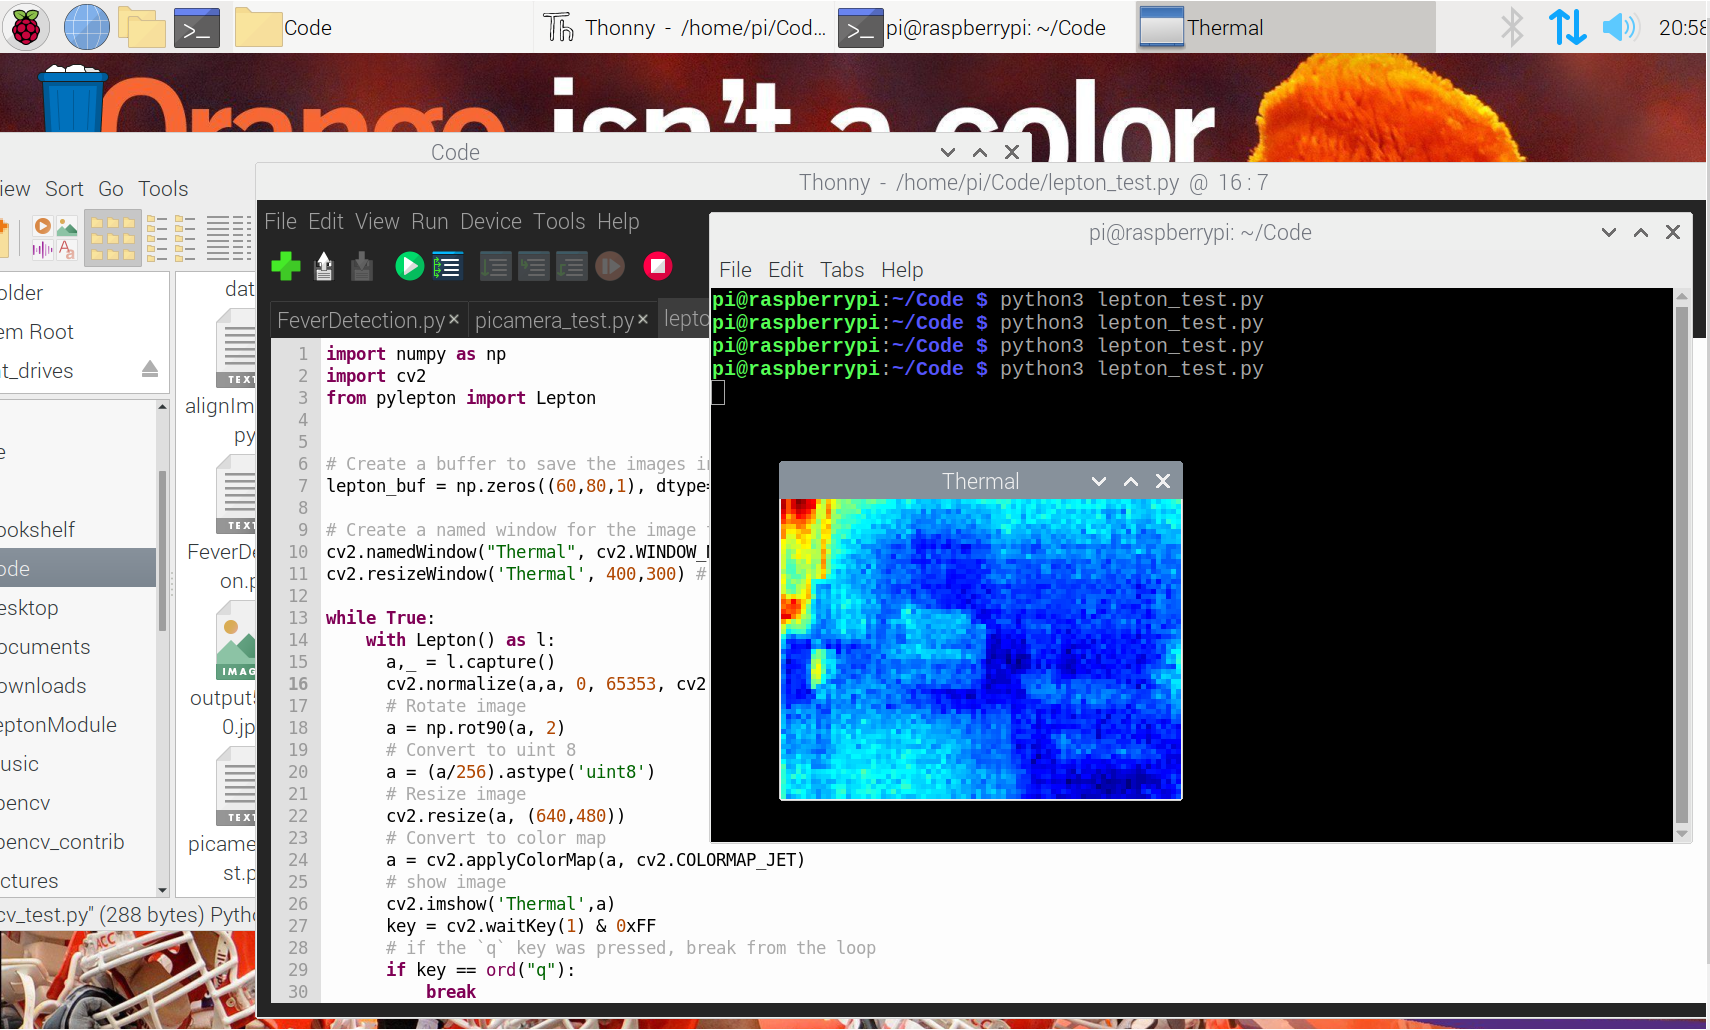
Using CV2 we can also map pixels values to colors giving you a traditional IR thermal camera look:
while True:
    with Lepton() as l:
      a,_ = l.capture()
      cv2.normalize(a,a, 0, 65353, cv2.NORM_MINMAX)
      # Rotate image
      a = np.rot90(a, 2)
      # Convert to uint 8
      a = (a/256).astype('uint8')
      # Resize image
      cv2.resize(a, (640,480))
      # Convert to color map
      a = cv2.applyColorMap(a, cv2.COLORMAP_JET)
      # show image
      cv2.imshow('Thermal',a)
      key = cv2.waitKey(1) & 0xFF
      # if the `q` key was pressed, break from the loop
      if key == ord("q"):
          break
Trying the dlib library
Dlib is a library that will allow us to get landmarks on people’s face for capturing the face IR data. for that we will create a dlib_test.py script
First we will import the necessary libraries and initialize the camera
import cv2
import numpy as np
import dlib
from picamera.array import PiRGBArray
from picamera import PiCamera
import time

## Camera setup
# initialize the camera and grab a reference to the raw camera capture
camera = PiCamera()
camera.resolution = (640, 480)
camera.framerate = 32
camera.rotation = 180
rawCapture = PiRGBArray(camera, size=(640, 480))
# allow the camera to warmup
time.sleep(0.1)
Then initiate the dlib library
## dlib face detector setup
detector = dlib.get_frontal_face_dector() # initialize the dlib face detector
predictor = dlib.shape_predictor('shape_predictor_68_face_landmarks.dat') # load the dlib model
Now create the for loop for the video
## video loop
for frame in camera.capture_continuous(rawCapture, format="bgr", use_video_port=True):
    # grab the raw NumPy array representing the image, then initialize the timestamp
    # and occupied/unoccupied text
    image = frame.array
    gray = cv2.cvtColor(image, cv2.COLOR_BGR2GRAY)
    faces = detector(gray)
    for face in faces:
        x1 = face.left()
        y1 = face.top()
        x2 = face.right()
        y2 = face.bottom()
        print(x1,y1)
        cv2.rectangle(image, (x1, y1), (x2, y2), (0, 255, 0), 2)

        landmarks = predictor(gray, face)

        for n in range(0, 68):
            x = landmarks.part(n).x
            y = landmarks.part(n).y
            cv2.circle(image, (x, y), 4, (255, 0, 0), -1)

    # show the frame
    cv2.imshow("Frame", image)
    key = cv2.waitKey(1) & 0xFF
    # clear the stream in preparation for the next frame
    rawCapture.truncate(0)
    # if the `q` key was pressed, break from the loop
    if key == ord("q"):
        break
Fever Detection Script
import cv2
from picamera.array import PiRGBArray
from picamera import PiCamera
import time
import numpy as np
import dlib
from pylepton import Lepton
import pandas as pd


#Initialization of Camera/Windows
camera = PiCamera()
camera.resolution = (640, 480)
camera.framerate = 32
camera.rotation = 180
rawCapture = PiRGBArray(camera, size=(640, 480))
lepton_buf = np.zeros((60,80,1), dtype=np.uint16)
cv2.namedWindow("Thermal", cv2.WINDOW_NORMAL)
cv2.resizeWindow('Thermal', 400,300)
cv2.namedWindow("PyCam", cv2.WINDOW_NORMAL)
cv2.resizeWindow('PyCam', 400,300)

# define transform
# h = np.float32([[ 2.24346513e+00,  6.48002063e-01, -1.69435974e+02],
#  [ 7.40627465e-02,  2.71901217e+00, -3.16027302e+02],
#  [ 1.35883889e-04,  2.71327283e-03,  1.00000000e+00]])

h = np.float32(np.load('trans_param.npy')) # get transform parameters from file

# create data frame for data
DF = pd.DataFrame(data=None, columns=['Face','LM1','LM2','LM3','LM4','LM5'])


#Allow Camera to warm up
time.sleep(0.1)

## dlib face detector setup
detector = dlib.get_frontal_face_detector()
predictor = dlib.shape_predictor("./models/shape_predictor_5_face_landmarks.dat")

## define normalization alpha and beta
alpha = -70000
beta = 70000

## define translation parameters
x_pos = 0
y_pos = 0

# capture frames from the camera
for frame in camera.capture_continuous(rawCapture, format="bgr", use_video_port=True):
    with Lepton() as l:
        a,_ = l.capture()
        cv2.normalize(a, a, alpha, beta, cv2.NORM_MINMAX) # extend contrast
        a = np.rot90(a, 2)
        a = (a/256).astype('uint8')

        def on_click(event, x, y, p1, p2):
           if event == cv2.EVENT_LBUTTONDOWN:
            print(a[x,y])

        # update translation matrix
        translation_matrix = np.float32([[1,0,x_pos],[0,1,y_pos]])

        image = frame.array
        image = cv2.resize(image, (400,300))
        a = cv2.resize(a, (400, 300))
        gray = cv2.cvtColor(image, cv2.COLOR_BGR2GRAY)
        faces = detector(gray)
        # define array for data storage
        face_num = 0
        # translate non thermal iamge
        image = cv2.warpAffine(image, translation_matrix, (400,300))
        for face in faces:
            x1 = face.left()
            y1 = face.top()
            x2 = face.right()
            y2 = face.bottom()
            cv2.rectangle(image, (x1, y1), (x2, y2), (0, 255, 0), 2)

            landmarks = predictor(image, face)

            thermal_data = []
            for n in range(0, 5):
                x = landmarks.part(n).x
                y = landmarks.part(n).y
                cv2.circle(image, (x, y), 4, (255, 0, 0), -1)
                thermal_pixel = a[x,y]
                if n < 2:
                    cv2.putText(image, str(thermal_pixel), (int(x*1.1),int(y*1.1)),
                                cv2.FONT_HERSHEY_SIMPLEX, 0.5, (0,255,0))
                else:
                    cv2.putText(image, str(thermal_pixel), (int(x*.9),int(y*1.1)),
                                cv2.FONT_HERSHEY_SIMPLEX, 0.5, (0,255,0))
                thermal_data.append(thermal_pixel)

            DF = DF.append({'Face': face_num,
                            'LM1': thermal_data[0],
                            'LM2': thermal_data[1],
                            'LM3': thermal_data[2],
                            'LM4': thermal_data[3],
                            'LM5': thermal_data[4]},
                           ignore_index=True)
            face_num += 1


        cv2.setMouseCallback('Thermal', on_click)
        # show the frame
        cv2.imshow("PyCam", image)
        cv2.imshow('Thermal', a)
        color_map = cv2.applyColorMap(a, cv2.COLORMAP_JET)
        cv2.imshow("color",color_map)
        # show warped image
        warp_src = cv2.warpPerspective(image, h, (400,300)) # apply perspective warp
#         cv2.imshow("warp",warp_src)
        # show overlay
        a_3 = cv2.merge((a,a,a))
        blnd = cv2.addWeighted(a_3,0.7,warp_src,0.3,0)
        cv2.imshow("blnd",blnd)
        key = cv2.waitKey(1) & 0xFF
        #o.update(np.getbuffer(a))
        # clear the stream in preparation for the next frame
        rawCapture.truncate(0)
        # if the `q` key was pressed, break from the loop
        if key == ord('t'):
            alpha += 5000
            print("Alpha is %d" % (alpha,))
        if key == ord('g'):
            alpha -= 5000
            print("Alpha is %d" % (alpha,))
        if key == ord('y'):
            beta += 5000
            print("Beta is %d" % (beta,))
        if key == ord('h'):
            beta -= 5000
            print("Beta is %d" % (beta,))
        if key == ord('j'):
            x_pos += -1
            print("x_pos %d" % (x_pos,))
        if key == ord('l'):
            x_pos += 1
            print("x_pos %d" % (x_pos,))
        if key == ord('i'):
            y_pos += 1
            print("y_pos %d" % (y_pos,))
        if key == ord('k'):
            y_pos -= 1
            print("y_pos %d" % (y_pos,))

        if key == ord("q"):
            DF.to_csv('./data/face_data_excersize.csv')
            print(a)
            break
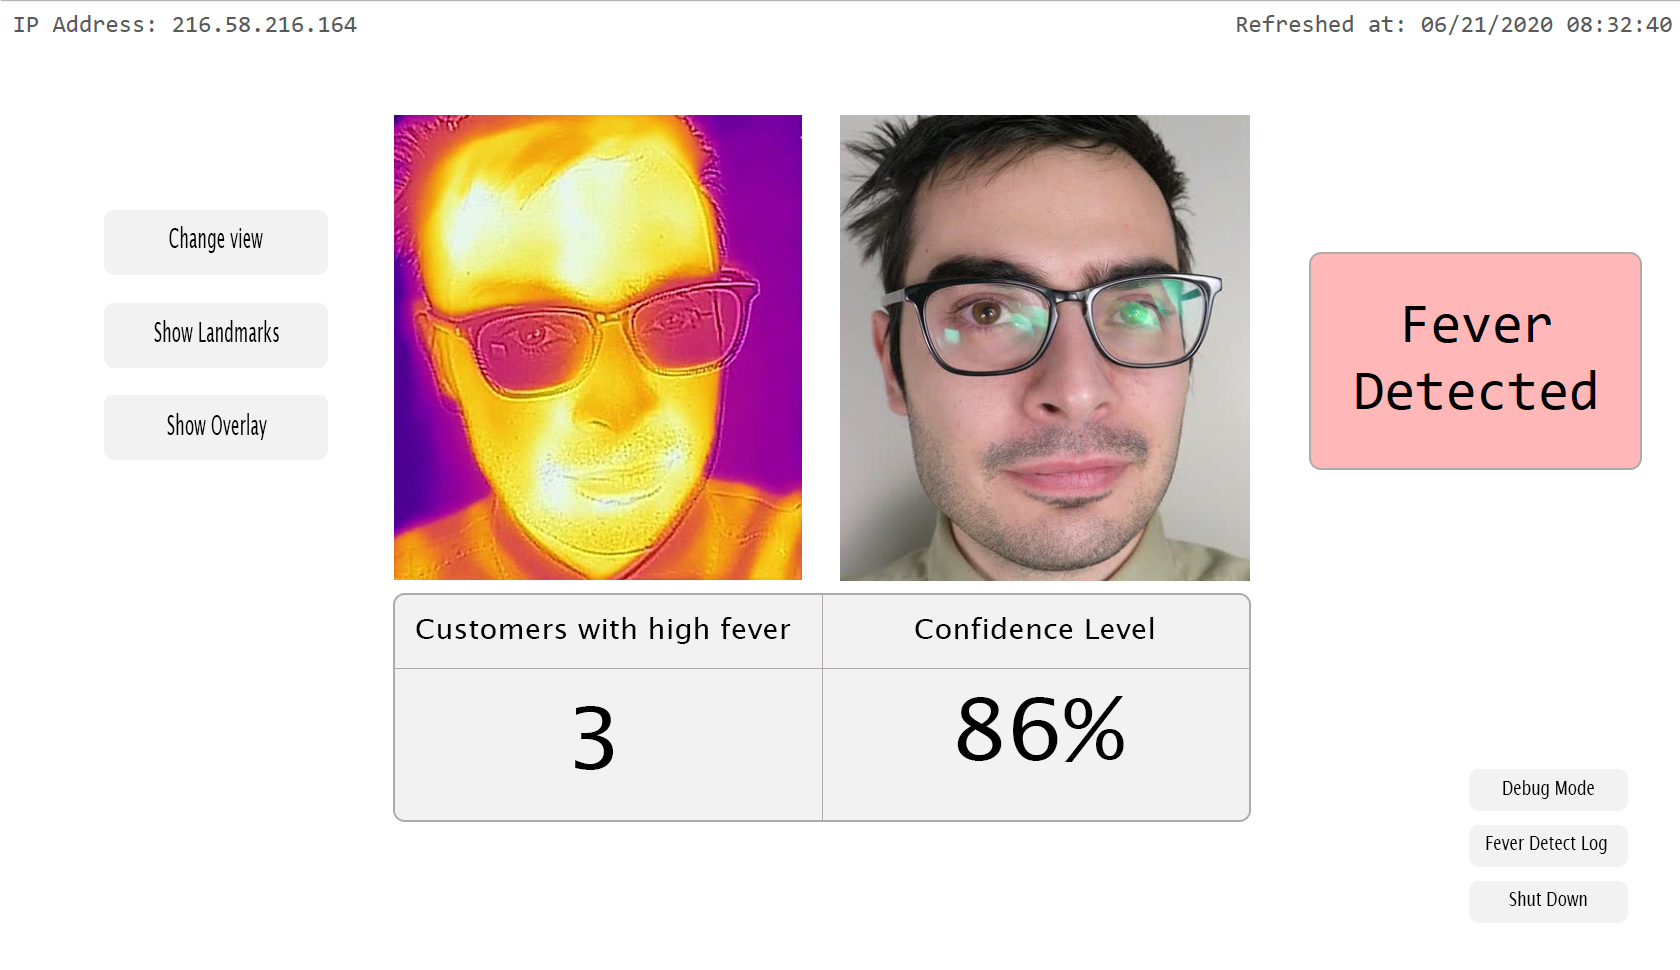
The UI
Currently the UI for this project is not finished as we did not receive additional funding for the project however our vision is shown below. This configuration would be accessible via a web browser either on your phone, tablet, or PC external of the TigIR.
Future prototypes of this project will include a pyQT UI to make it easier, but updates to this repo for anyone that could do the below is highly appreciated
The Video
For our design competition, I created a pitch video for this project in hopes of receiving future funding
Future Work
Much of the ground work for this project has been layed however there is still quite a bit to go. In order to produce a reliable machine learning model that recognizes fever patients, more thermal imaging data needs to be captured. As for the network side, a full framework still needs to be produced in order for multiple devices to work on the network. Currently, the web UI is under construction and it projected to be finished before the end of Summer 2020.
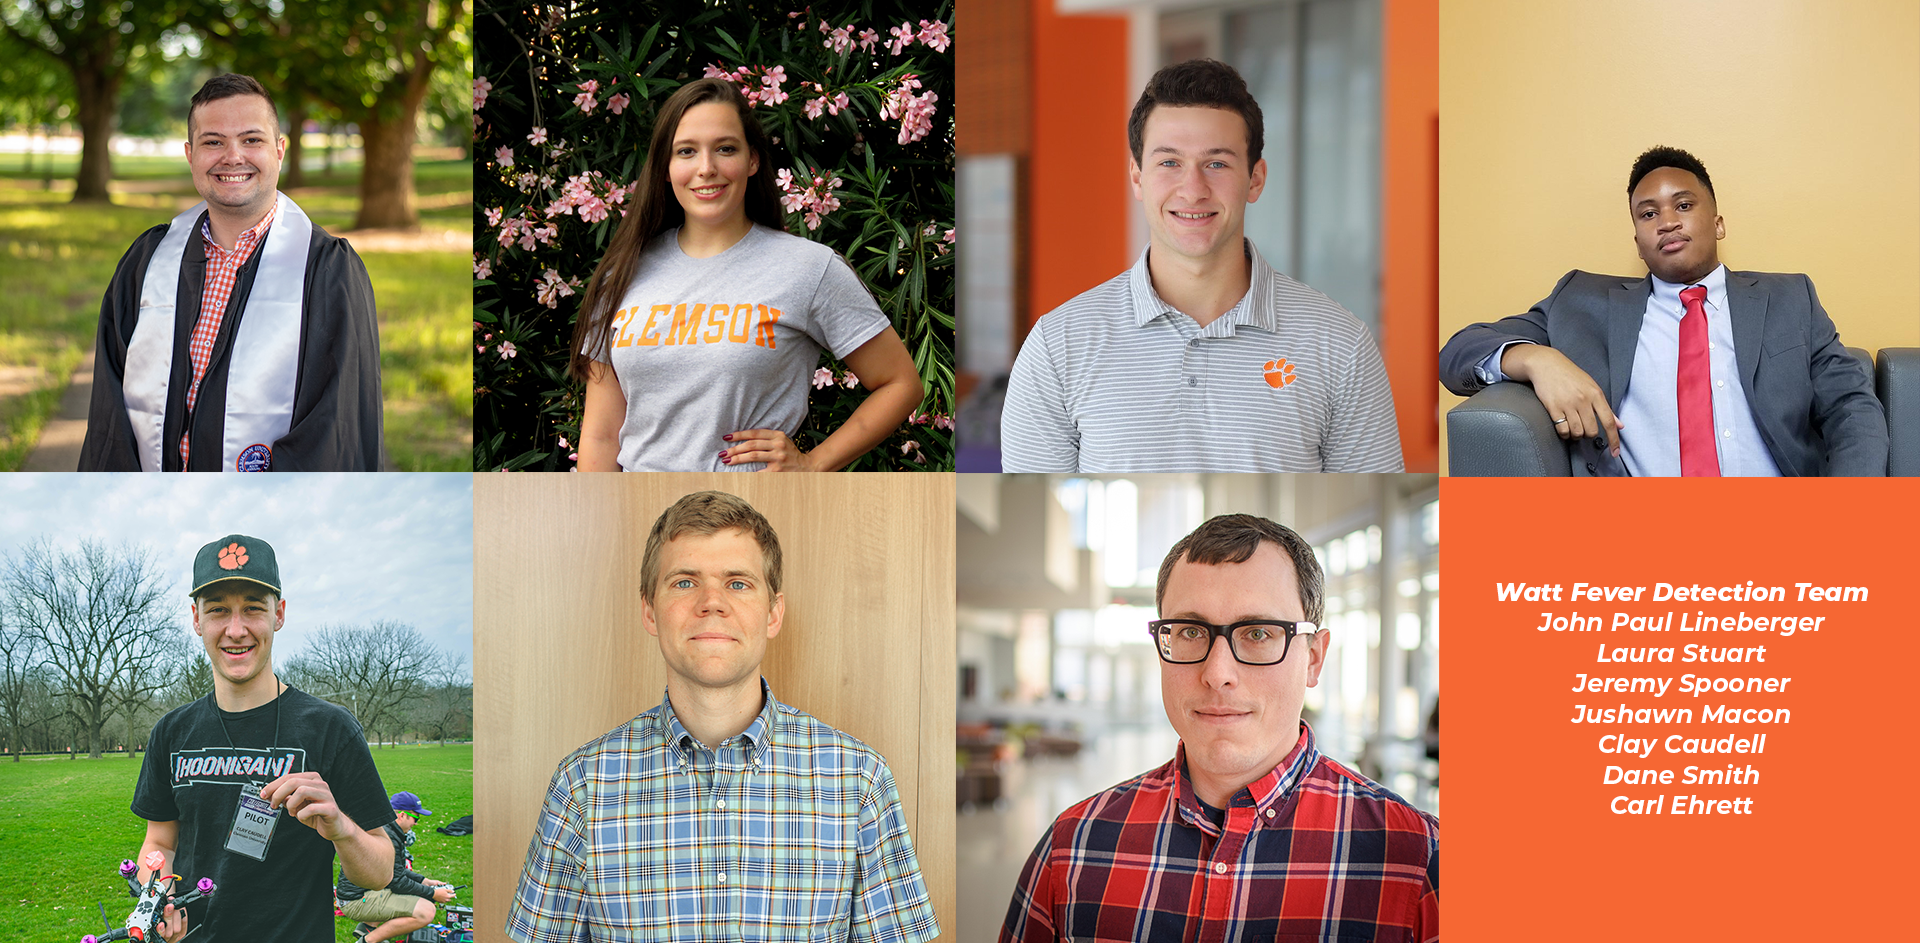
Meet The Watt Fever Detection Team